Warning
The CRC will officially retire AFS in May, 2027.
Fastx

FastX displays your remote Linux desktops faster than regular X Windows emulator, especially over Internet connections. It is an easy-to-use client-served based X11 emulator, that allows you to connect to a remote Linux server using any browser (Firefox, Chrome, Safari, or Edge). FastX offers productive user experience over long distance and low bandwidth connections.
FastX connections are persistent, you can reconnect to your session after a network failure or unplanned reboot of your workstation. Users can also suspend their sessions, disconnect their PC and resume the session at a later time from any device.
Why should I use FastX?
FastX has the primary purpose of providing a graphical interface to our servers on slow connections from off-campus. Users should be able to easily access to debug tools like Allinea, data visualization tools like Paraview, feature rich IDEs like Eclipse and numerous GUI scientific apps (Matlab, Stata, etc…) on CRC frontends.
How do I use FastX?
FastX through a web browser
Using a web browser is the preferred and faster method to connect (compared to the client). Using a browser doesn’t require any installation and is more user friendly. We strongly recommend using the web browser method.
Direct your browser to any of our FastX capable frontends listed below:
bastion.crc.nd.edu (no VPN required, but must use ND Okta MFA)
Use your ND netID and password to login.
Click on the “+” button to launch a new session.

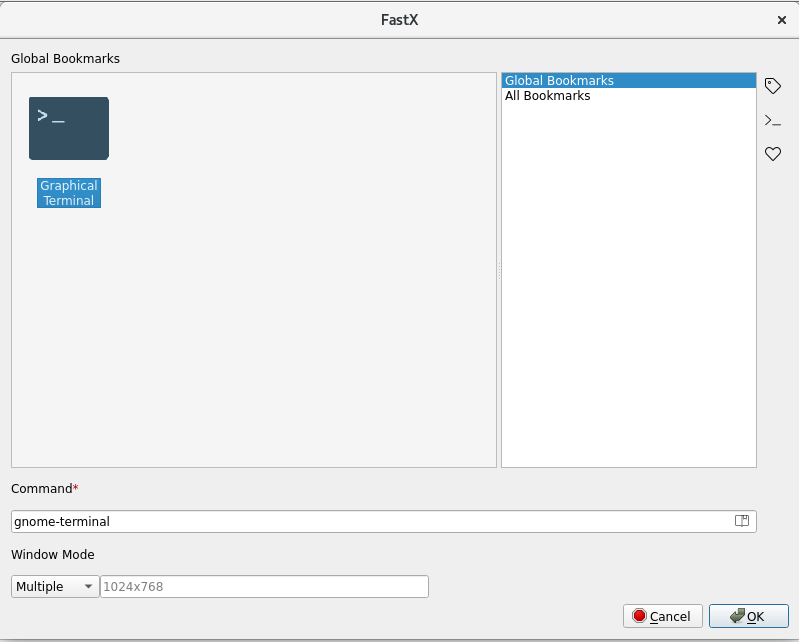
Select Graphical Terminal and then click on “Launch”.
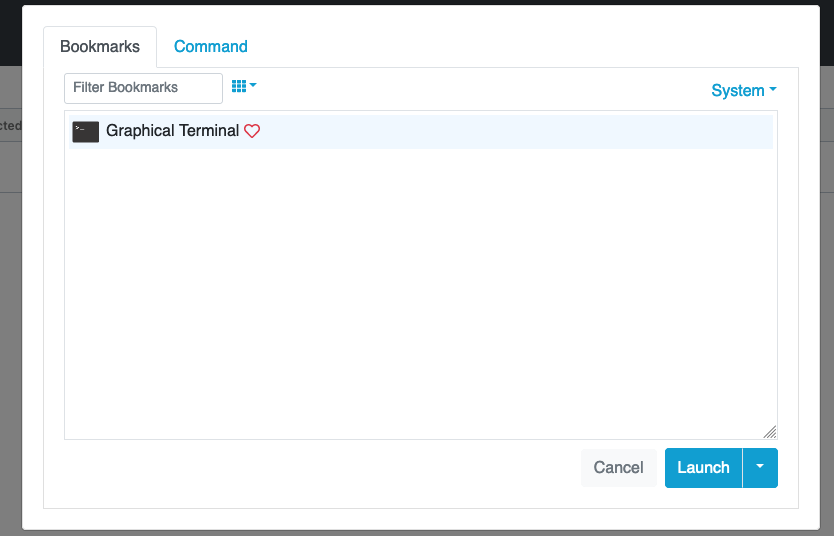
This will give you a graphical terminal in a web browser with its own display:
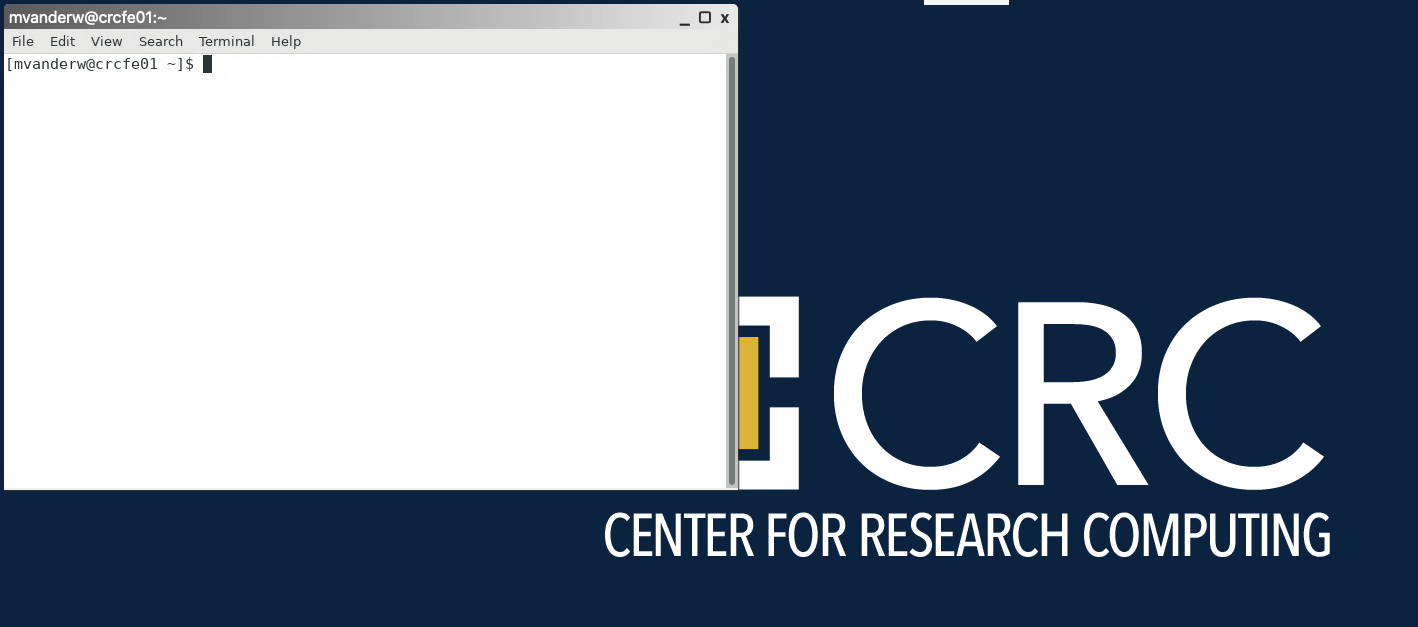
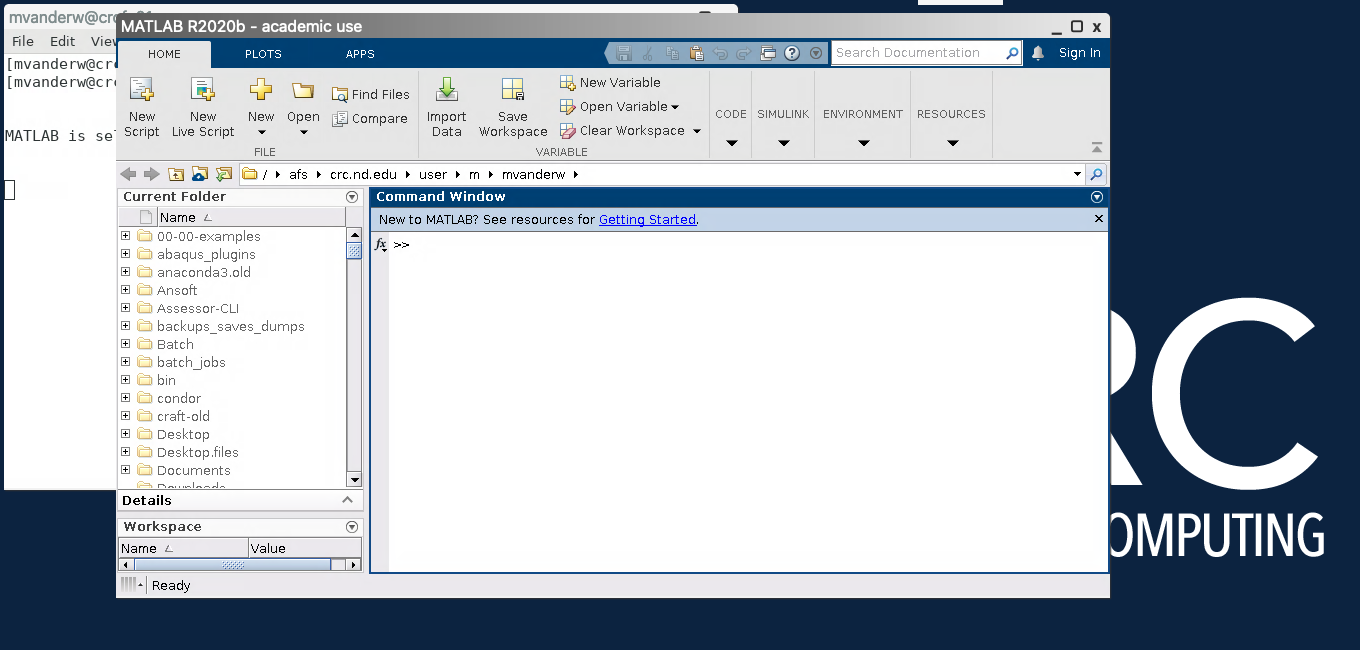
You will then be able to access GUIs such as Matlab for example:
FastX through the Client
You can also use the FastX client instead of a web browser. Note: Using the web browser to connect is the preferred and faster method.
The FastX client can be downloaded by visiting https://www.starnet.com/download/fastx-client and selecting the appropriate choice for your operating system.
After downloading and installing the client:
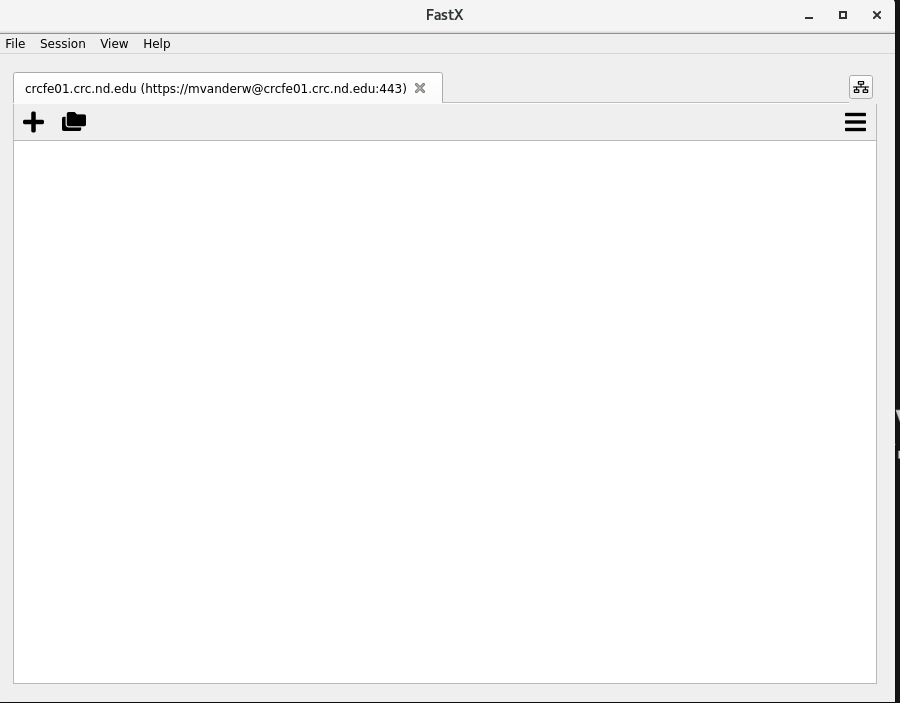
Open the client which will look like this:
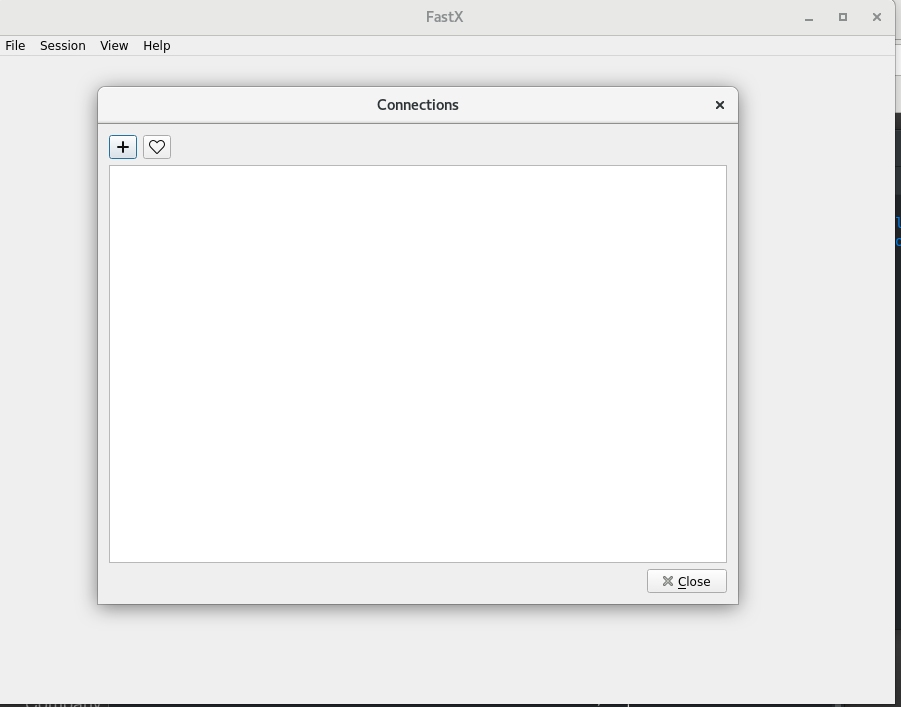
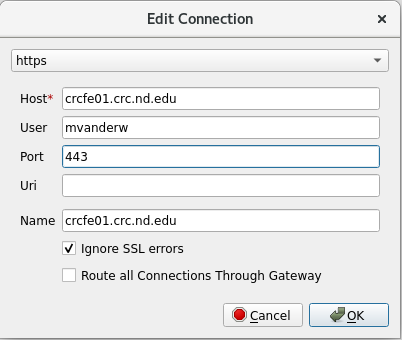
To create a new connection click on the plus sign and then select ‘https’ for the connection type.
For “Host”, use the system you are trying to connect to (e.g.
crcfe01.crc.nd.edu). For “Port”, use “443”. For “User”, use your ND netID. Click OK to save this connection and then double-click the newly-created connection (you may need to select “Open Connections” first) and you will be prompted for your ND password.
Once you are successfully logged in you will see a screen like this:
Click on the plus sign, select “Graphical Terminal”, and click OK to begin a new session.
License Limitations
Note that there are a limited number of licenses for FastX. If you are finished with a session, be sure to close/exit the software through the dashboard. If a session is idle for 6 consecutive hours, it will automatically disconnected. Sessions that are disconnected for 6 consecutive hours will be terminated to free a license. The licenses are shared among all the systems with FastX installed.