Warning
The CRC will officially retire AFS in May, 2027.
Cyberduck
The CRC supports SFTP over port 22, but does not allow unencrypted FTP sessions. You are free to use any SFTP client you like, but if you do not have a preference we recommend Cyberduck.
Installing Cyberduck
Go to the Cyberduck website and click on the banner to the left, below the rubber duck, which matches your operating system. These instructions are shown following the Mac version, but Windows is also supported.
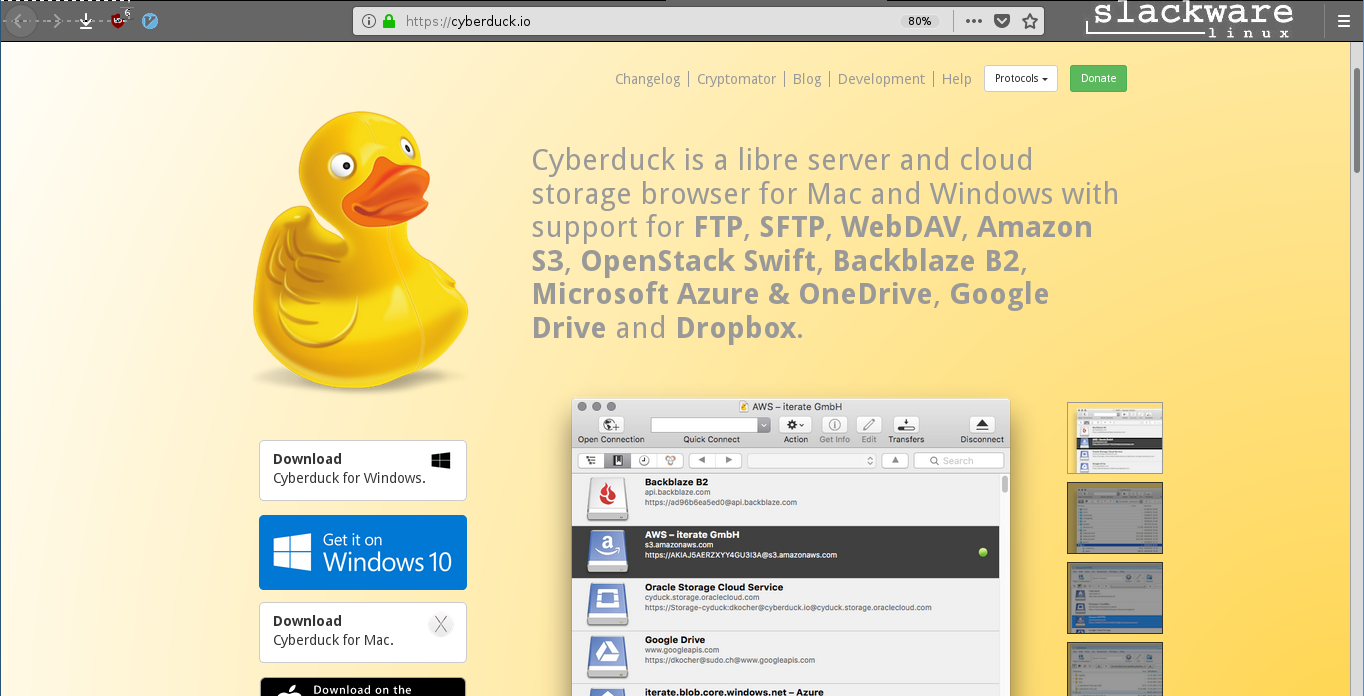
Depending on which browser you are using, what happens after clicking download will vary. In this case, Firefox prompts to choose either Open or Save the file before the download commences, choose save. A small status bar on the top left corner of the browser will be displayed to show the progress. Note that Firefox allows you to customize the location of the downloads menu. The symbol will be the same as the screenshot in Firefox however its placement may be different on your browser. In other browsers, such as Safari, the download may start automatically.
Once the download ends, click the download icon, then click the file that was downloaded. On other browsers, find the respective file and open it.

The Cyberduck window will pop up.
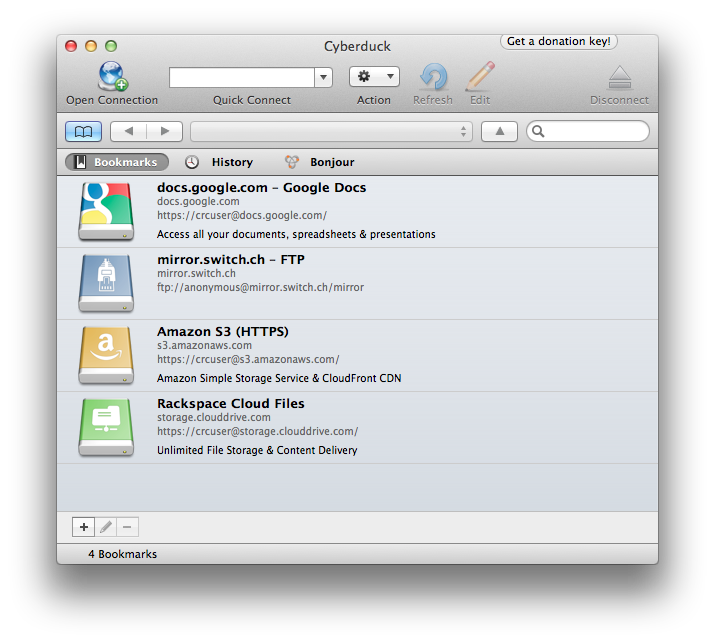
Click on the open connection icon located at the upper left corner of the Cyberduck window. A window will pop up prompting you to enter the Server (front-end server such as crcfe01.crc.nd.edu or crcfe02.crc.nd.edu), username (ND netID), and password (netID password).
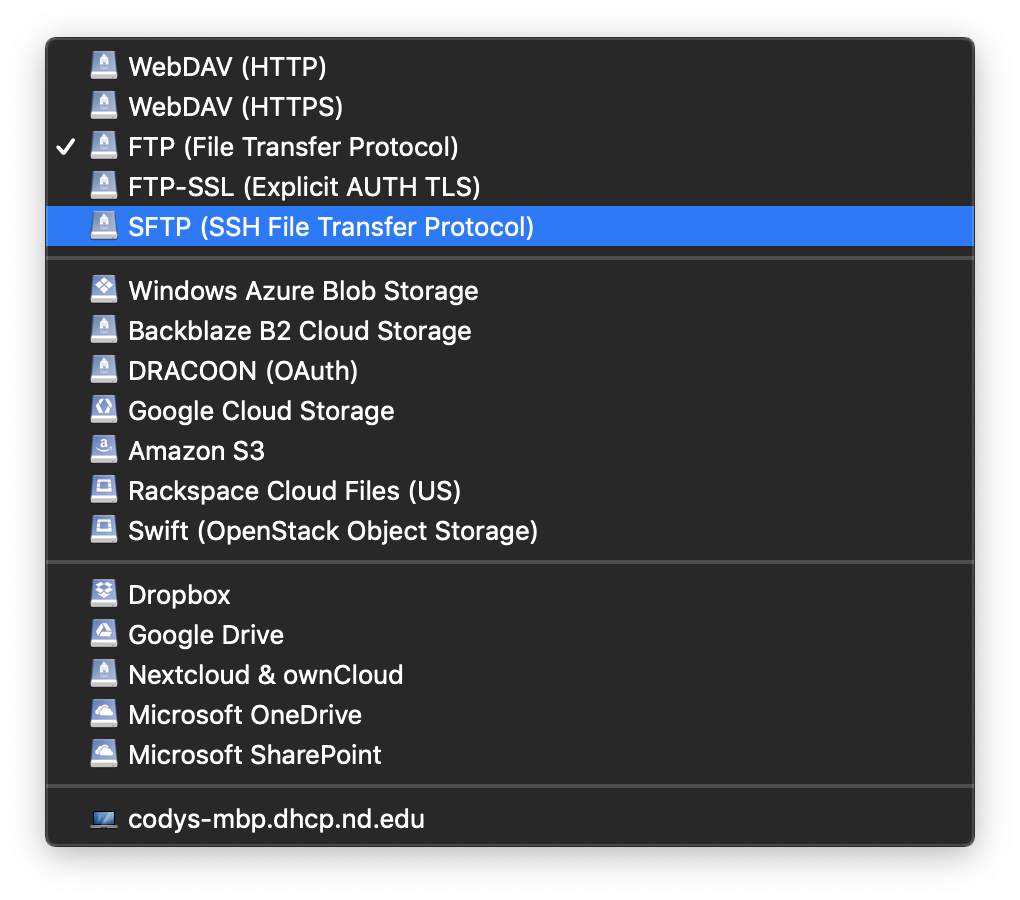
By default, Cyberduck selects FTP on port 21, which is unsupported. You will need to change this to SFTP on port 22. Click on the drop down menu and select SFTP (SSH File Transfer Protocol).
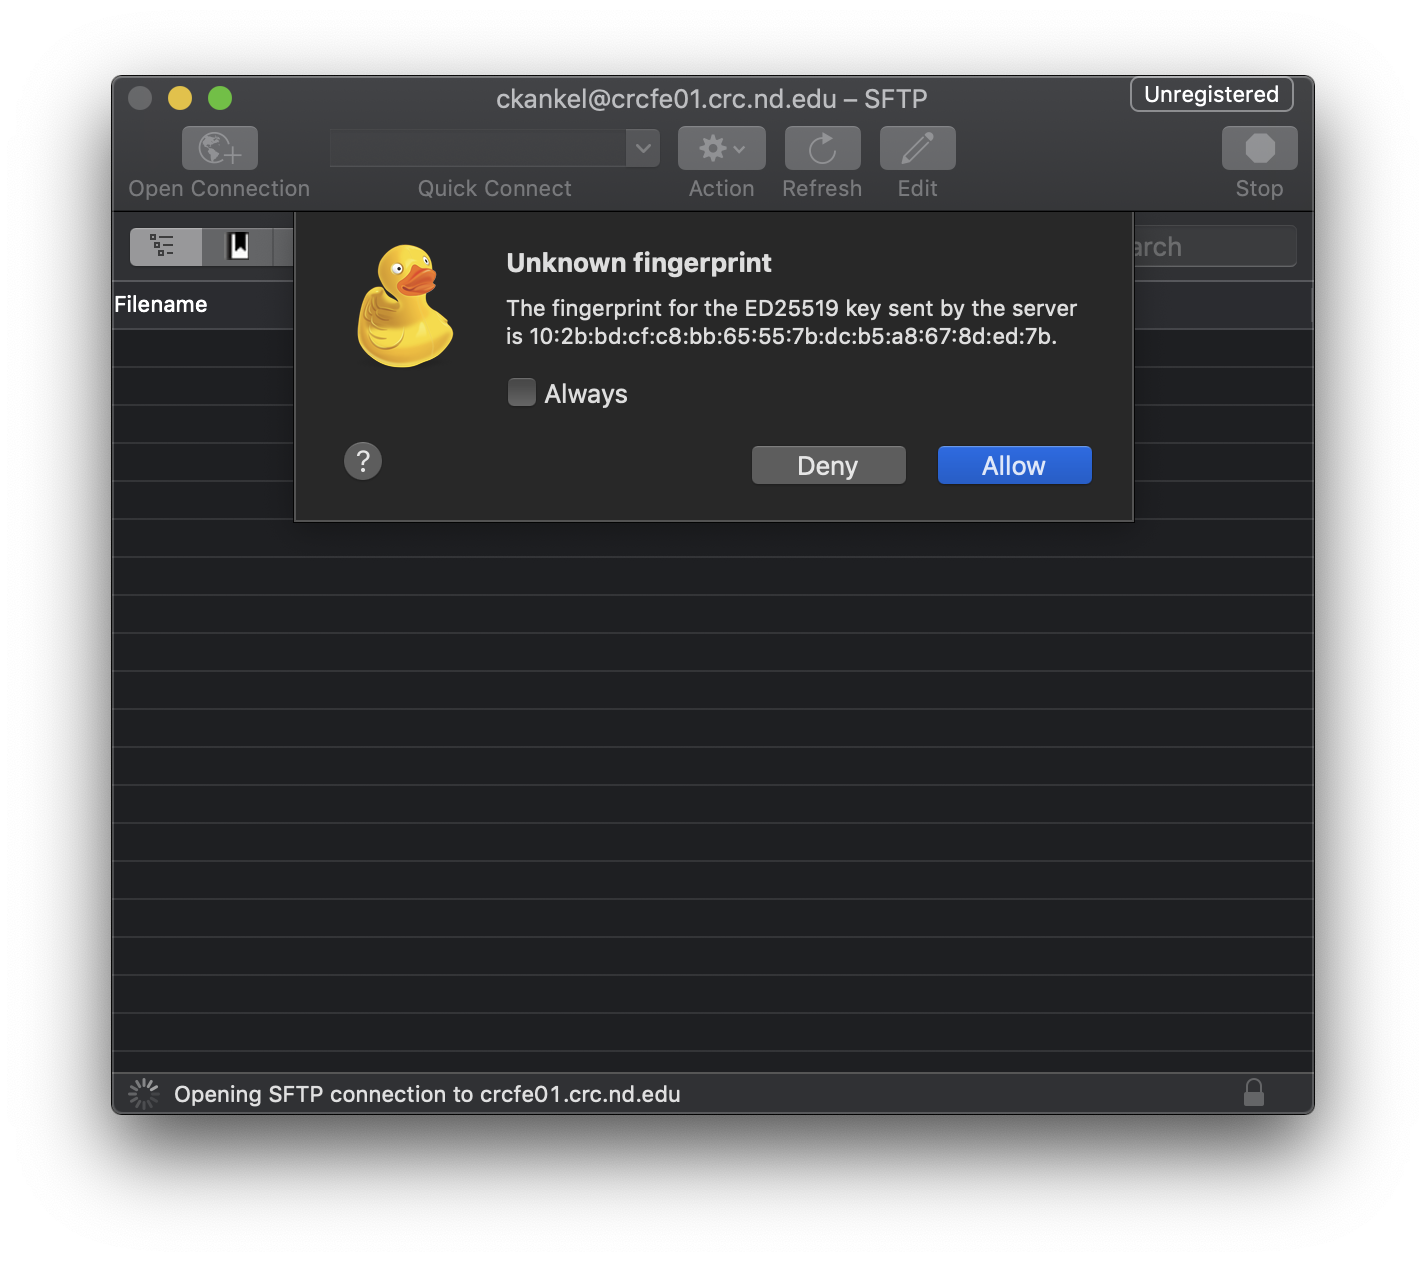
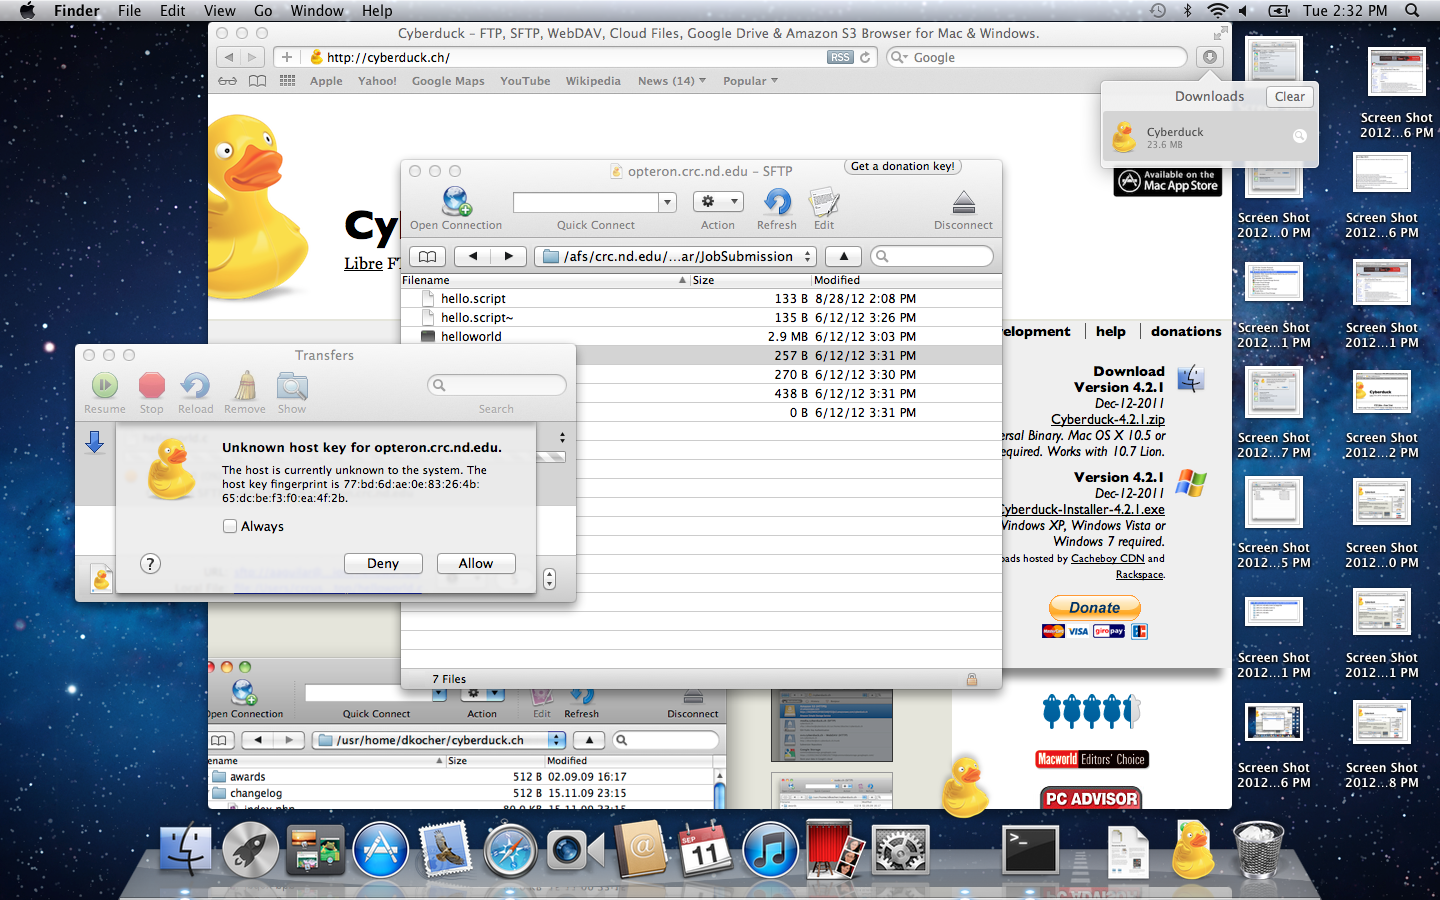
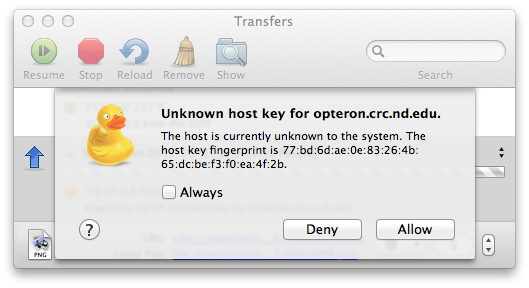
Click Connect and a window will come up asking you if it is okay to connect. Click on Allow. You will now be connected to the front-end node.
Transferring Files
From Remote Location to Local Machine
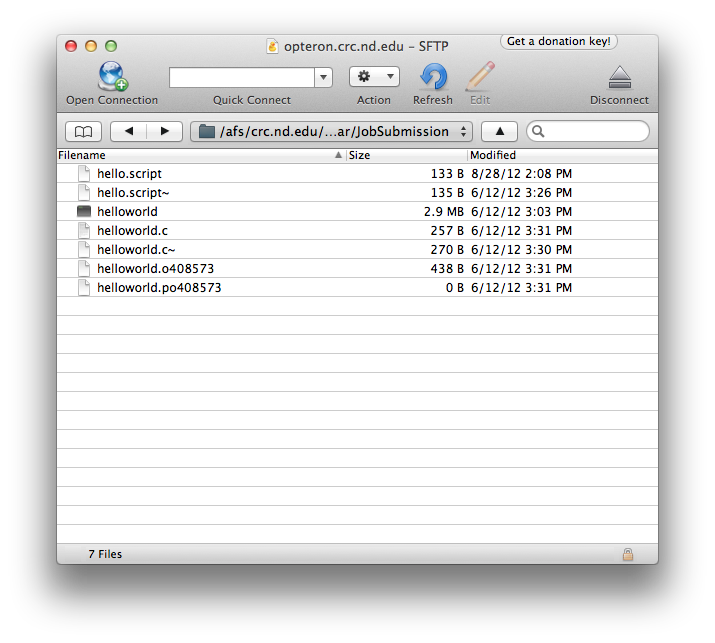
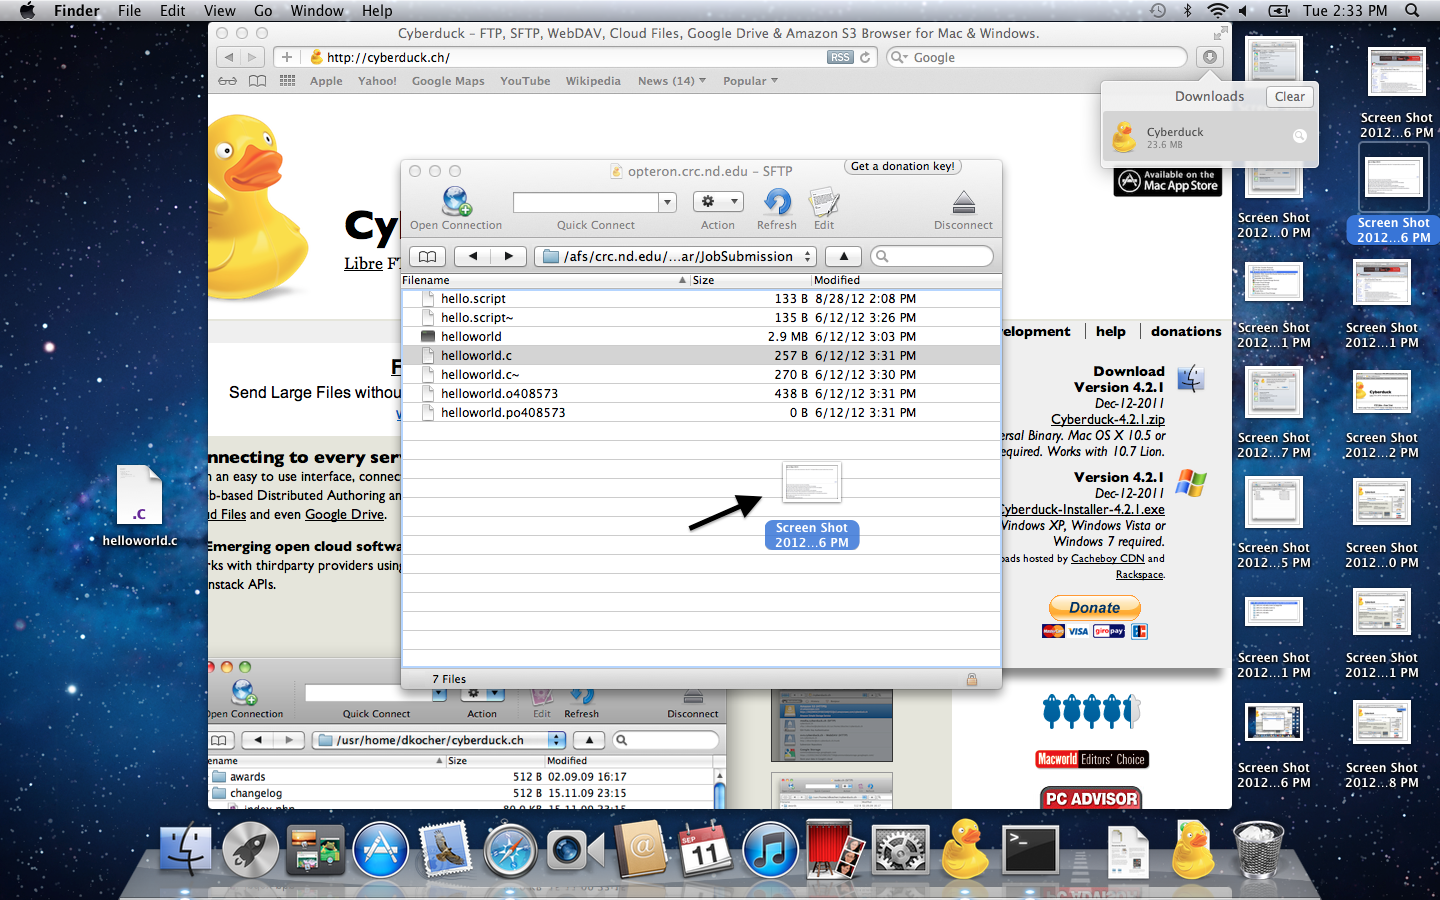
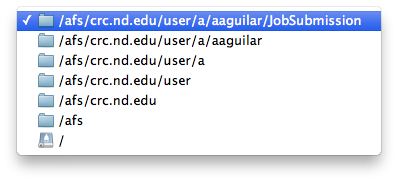
By default, the directory Cyberduck will be at when it connects is your home directory. From this window, one can go to any file in one’s home directory. Go to the directory where the files you want to transfer are located. If one goes to a wrong directory, one can use the left arrow to go to the previous location one was at. In this example, the file I want to transfer is located in my $Home/JobSubmission directory.
To transfer a file to your local machine, click and drag the file from Cyberduck’s window to a location of your choice in your local machine. A window will appear asking you if you would allow that action to take place. Click Allow.
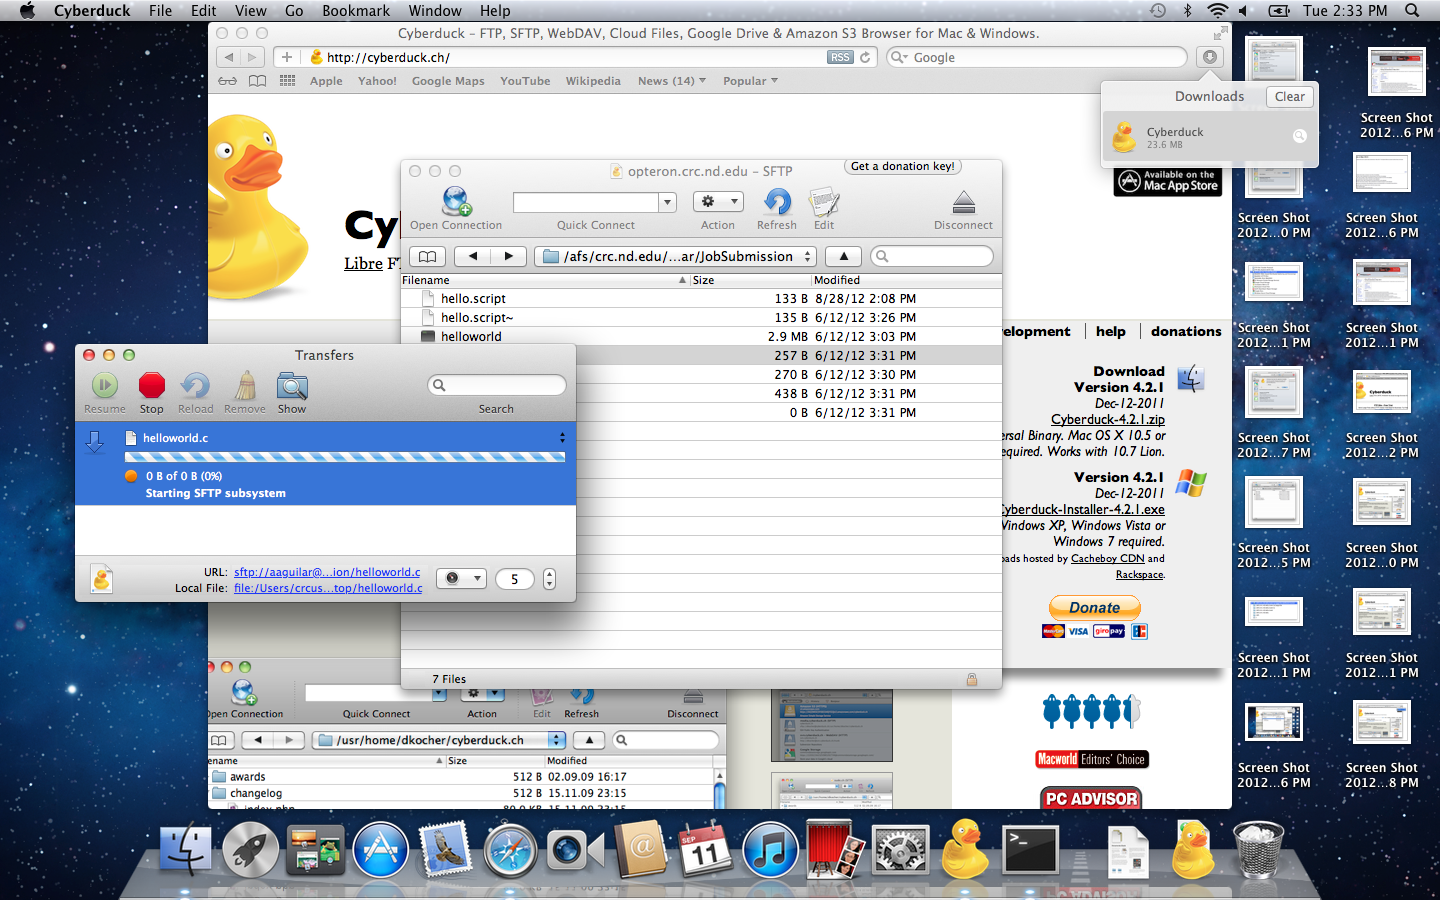
The Transfer window will show the status of your file as it is being moved from the remote location to your local machine.
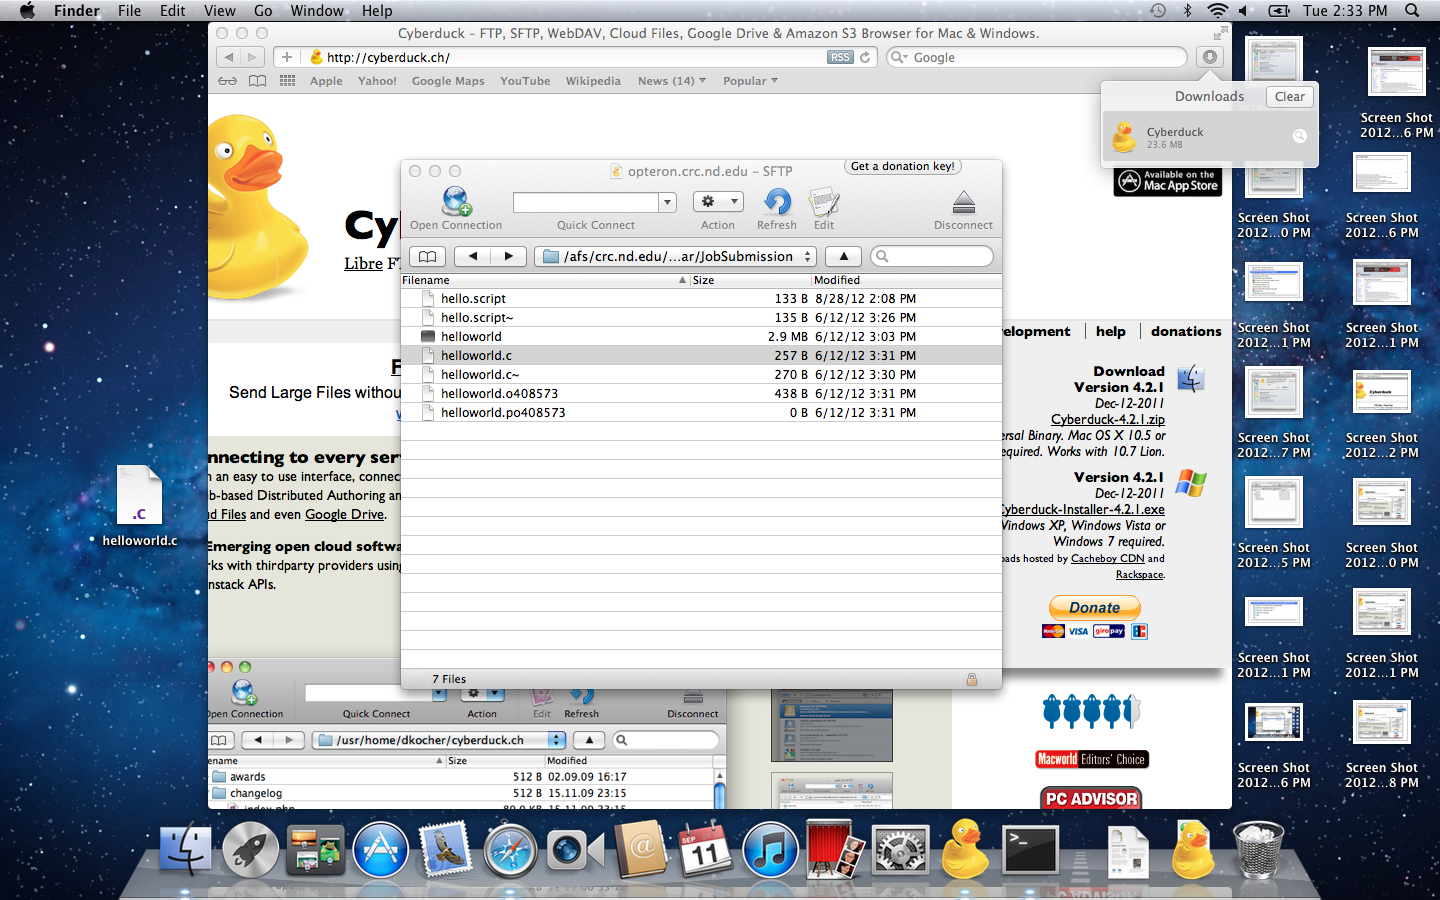
Once the file transfer is complete. The Transfer window will disappear and you will be able to see your file in the location you chose. In this example, the file was transferred to the Desktop.
From Local Machine to Remote Location
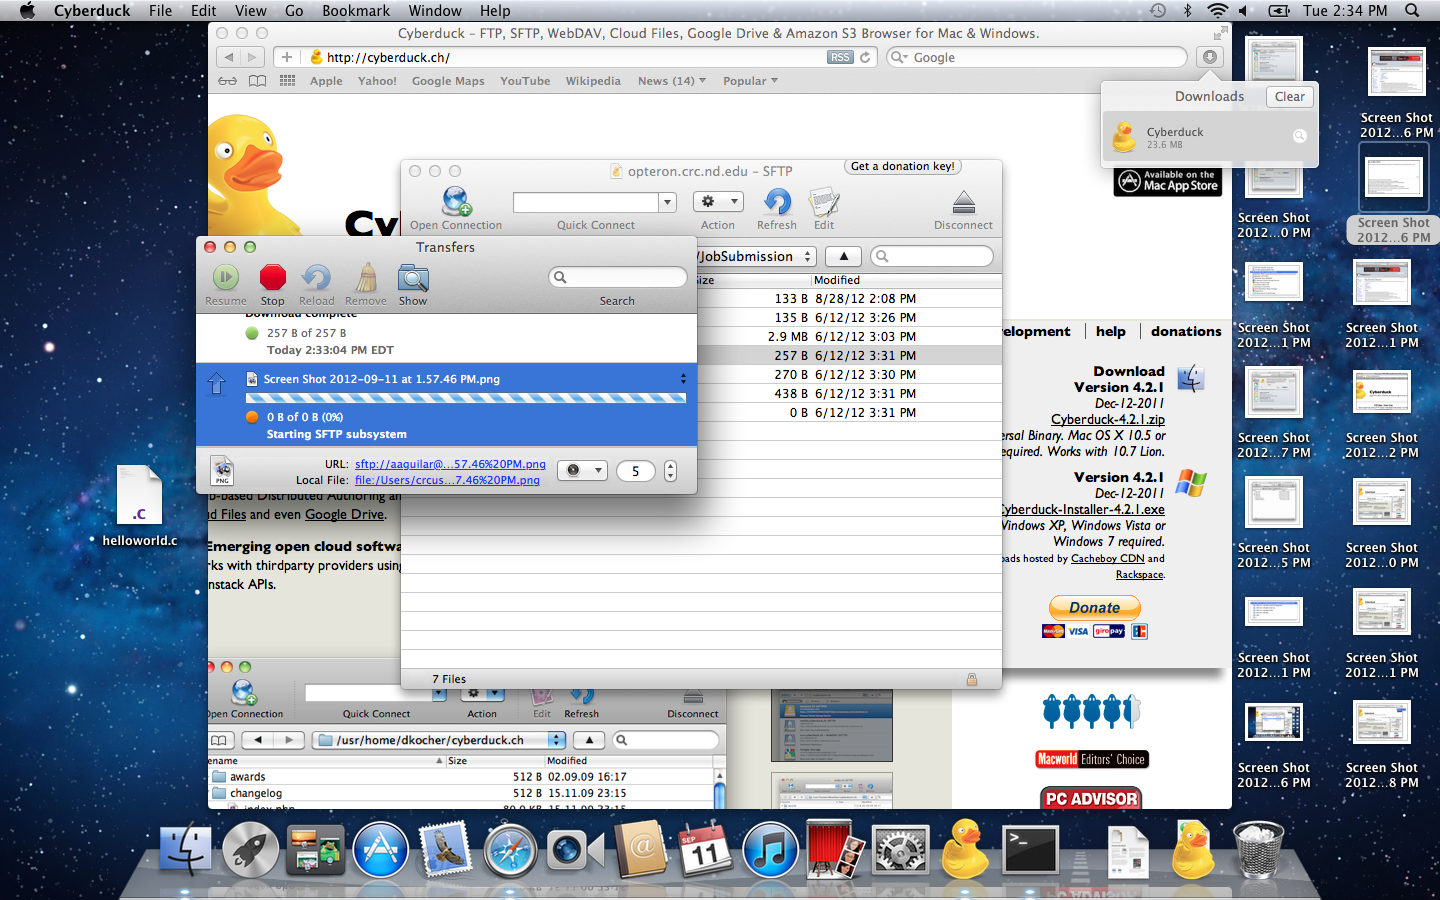
Click and drag the file to the Cyberduck window. Make sure that Cyberduck is in the directory you would like to save the file. In this example, I am transferring a screenshot that was on the Desktop.
A window will appear asking you if you would like to proceed transferring the file to the remote machine. Click Allow to commence transferring.
The Transfer window will appear showing the status of the transfer.
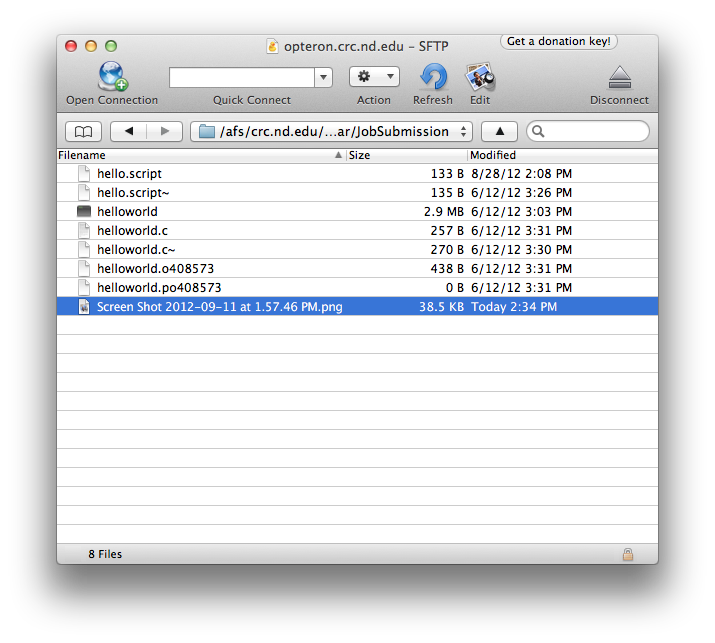
Once the transfer completes. You will be able to see the file in the directory of the Remote Location.
Uploading to Group Directory
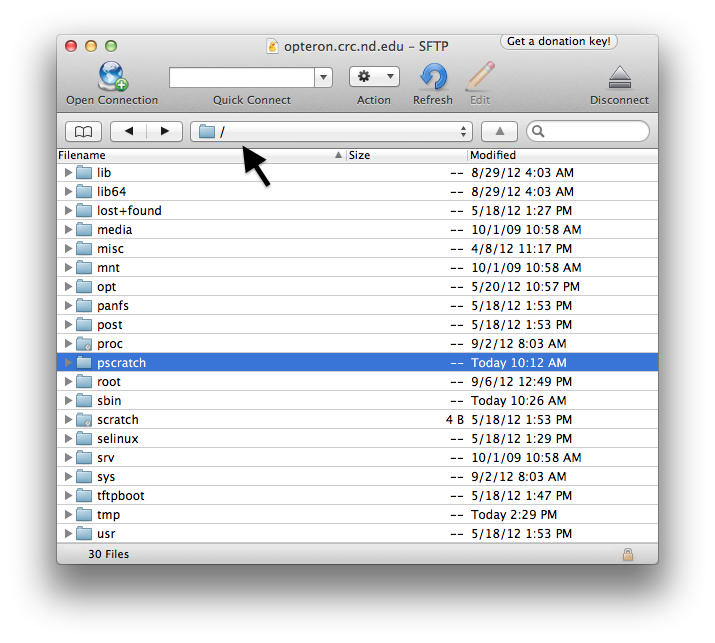
By default, you will be in your home directory (/users/netid) when Cyberduck connects. In order to go to your /groups directory, you need to go to the root directory by clicking the location that contains your current directory path. A drop down menu will appear giving you a couple of directories you can go to. Choose the / directory. This is your root directory.
You will now be at your root directory and you will be able to see a folder called /groups in the Cyberduck window. You can double click that folder and you can navigate to your PI_netid. Double click your PI_netid and now you will be in your /groups/PI_netid space.
Uploading Large Files
When uploading a large file you may encounter issues if attempting to upload directly to your home space. To avoid any possibly issues, it is best to upload large files first to the /tmp space on a front end node and then once the transfer is complete to move the file(s) to your home space.
This process is similar to uploading files to /groups, but instead of group space you are targeting the /tmp directory. /tmp is a file system outside of the user file system and lives solely on the machine you’re logged into / targeting. Files in /tmp will not be available on other machines such as compute nodes.
The general process can be described as:
While logged into a head node create a directory in
/tmp:mkdir -p /tmp/$USER/uploads/On your Mac, open CyberDuck and start an
sftpsession as normal.Select the directory you just created as the destination for an upload (
/tmp/username/uploads)Upload the file noting that it may take some time.
When the upload is complete, login to the same headnode and move the file into your user space:
mv /tmp/$USER/uploads/example_file.dat ~/data_filesView the clip below for a summary.
Help
If you still have anymore questions about using Cyberduck. Feel free to contact us at CRCSupport@nd.edu